




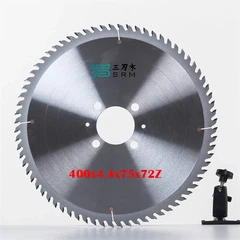



Hey there! I'm a supplier of Acrylic Router Bits, and I've seen firsthand how tricky it can be to get a clean cut when working with multiple layers of acrylic. In this blog, I'm gonna share some tips and tricks that I've picked up over the years to ensure you get the best results every time.
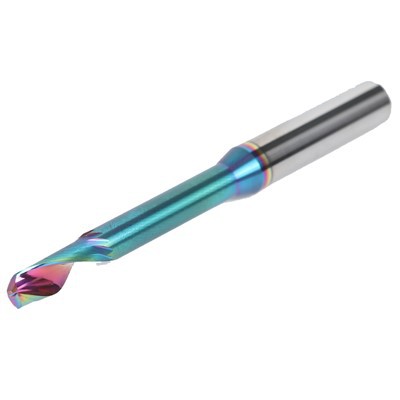
First off, let's talk about the importance of choosing the right router bit. There are several types of router bits available, each with its own unique features and benefits. For cutting multiple layers of acrylic, I recommend using a Spiral Milling Cutter. These bits are designed to remove material quickly and efficiently, leaving a smooth, clean cut. The spiral design helps to reduce chipping and cracking, which is especially important when working with multiple layers of acrylic.
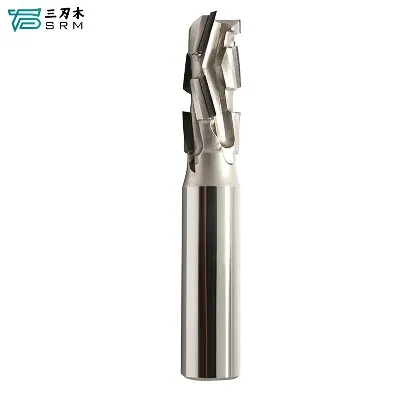
Another great option is the Straight Router Bit. These bits are ideal for making straight cuts and can be used to create precise edges and grooves. They're also great for cutting through thick layers of acrylic, as they have a sharp, straight edge that can easily slice through the material.
If you're looking for a bit that can handle both straight and curved cuts, then the Double-ended Spiral Saw Bit is a great choice. These bits have a double-ended design, which means you can use them to make both right and left-hand cuts. They're also great for cutting through multiple layers of acrylic, as they have a spiral design that helps to reduce chipping and cracking.
Once you've chosen the right router bit, it's important to make sure you're using it correctly. Here are some tips to help you get the most out of your router bit:
-
Use the right speed: The speed at which you run your router is crucial for getting a clean cut. If you run the router too fast, you risk chipping and cracking the acrylic. If you run it too slow, you'll end up with a rough, uneven cut. The best speed to use will depend on the type of router bit you're using and the thickness of the acrylic. As a general rule, you should aim for a speed of around 18,000 to 22,000 RPM.
-
Take your time: Cutting through multiple layers of acrylic takes time, so don't rush the process. Take your time and make sure you're making slow, steady cuts. This will help to reduce chipping and cracking and ensure you get a clean, precise cut.
-
Use a lubricant: Using a lubricant can help to reduce friction and heat, which can cause the acrylic to melt and stick to the router bit. You can use a commercial lubricant or a simple mixture of water and dish soap. Apply the lubricant to the router bit and the surface of the acrylic before you start cutting.
-
Support the acrylic: When cutting through multiple layers of acrylic, it's important to support the material to prevent it from vibrating and moving. You can use a clamping system or a router table to support the acrylic. Make sure the acrylic is securely clamped or held in place before you start cutting.
-
Clean the router bit: After each use, it's important to clean the router bit to remove any debris or residue. You can use a brush or a piece of sandpaper to clean the bit. Make sure the bit is completely dry before you store it.


In addition to these tips, there are a few other things you can do to ensure a clean cut when using acrylic router bits on multiple layers of acrylic. Here are some additional tips:
-
Use a high-quality router: A high-quality router will provide more power and precision, which will help you to get a clean cut. Make sure you choose a router that is compatible with the router bit you're using.
-
Wear safety gear: When using a router, it's important to wear safety gear, such as goggles and a dust mask. This will help to protect your eyes and lungs from debris and dust.
-
Practice on scrap material: Before you start cutting through your actual project, it's a good idea to practice on a piece of scrap acrylic. This will help you to get a feel for the router and the router bit and ensure you're comfortable using them.
-
Experiment with different techniques: There are several different techniques you can use to cut through multiple layers of acrylic. Experiment with different techniques to find the one that works best for you.
By following these tips and tricks, you should be able to ensure a clean cut when using acrylic router bits on multiple layers of acrylic. Remember, practice makes perfect, so don't be afraid to experiment and try different things. If you have any questions or need further advice, feel free to reach out. We're here to help you get the best results possible.
If you're interested in purchasing high-quality acrylic router bits, we'd love to hear from you. Our team of experts can help you choose the right router bit for your project and provide you with all the information you need to get started. Whether you're a professional woodworker or a DIY enthusiast, we have the products and expertise to meet your needs. Contact us today to start a conversation about your procurement needs and let's work together to bring your acrylic projects to life!
References
- General knowledge from years of experience in the acrylic router bits industry.