





The panel comes off the edging machine with a black line along the PVC edge, and the operator has already swapped two trimmer bits this shift. Sound familiar? It's the most common phone call we get from cabinet shops, and nine times out of ten the fix isn't a more expensive bit - it's a trimmer bit matched to the material, the rotation, and the feed. The edge banding trimmer on your machine is a small cutter with a big job, and most buyers pick it by price. Most of those failures trace back to the setup, not the price tag. This guide covers the checks that stop black edges, fuzz, and chipped laminate before the next batch of panels ships.
Hand Trimmer or Machine Trimmer Bit? Pick the Right Tool First
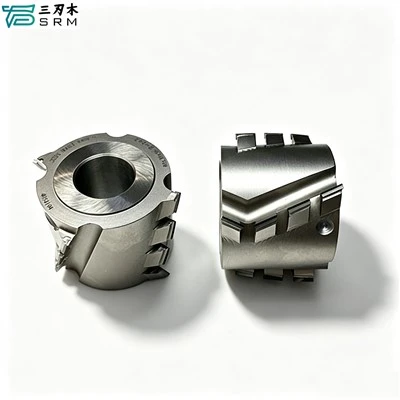
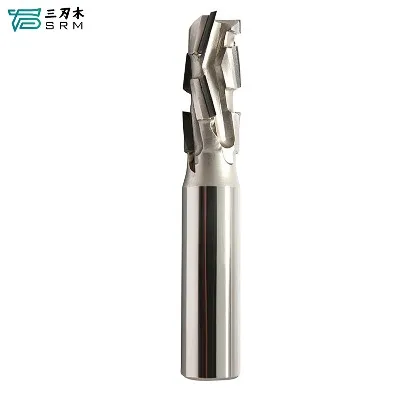
Search edge banding trimmer and you get two different tools. One is the handheld trimmer - a manual tool you push along the panel to shave the band flush, the kind sold in woodworking review roundups. The other is the trimmer bit that runs in your edging machine at 12,000 to 18,000 rpm and trims every panel as it passes. Both get called an edge banding trimmer, and the specs that matter are completely different. If you're ordering for a production line, the edge banding trimmer you need is the machine bit, and it should be specced like a cutting tool: material, rotation, flutes, radius, shank. Handheld trimmers are a separate purchase. Write "machine trimmer bit" on the first line of the RFQ and the confusion ends there.
Match the Bit to the Banding Material
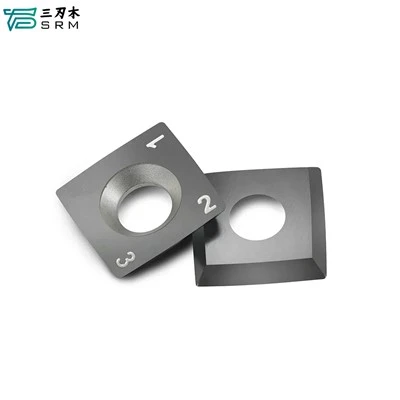
The banding material decides the blade material, full stop. PVC and ABS melt under heat, so a carbide edge banding trimmer bit with the right rake angle cuts clean while a dull or wrong-geometry bit smears the edge into that black line. Wood veneer and melamine behave differently - veneer fuzzes with the wrong cutting direction, and melamine chips on the face if the edge angle is off. PCD becomes worth the money when you run high volumes of abrasive HPL or laminate, not for short PVC runs. The right edge banding trimmer for PVC is different from the one for veneer, and a "one bit does all" claim deserves a skeptical question. Ask the supplier which materials the bit was designed for, and test it on the material you actually run before you commit a batch.
Rotation, Flutes, and the R-Radius
Rotation decides whether your edge banding trimmer pushes the band into the board or away from it, and getting it backwards is the fastest way to a chipped edge. Most edging machines take a specific spindle direction - clockwise or counter - and the bit has to match it. Then the flutes: two-flute bits balance chip removal and surface finish, four-flute bits run smoother on softer bands, and the wrong count shows up as burn marks or a rough line. The R radius is the corner profile, and it has to match the band thickness and the edge style you sell. A 1R bit on a 2-millimeter band leaves a step; a 2R bit on thin banding digs a groove. Ask for the R radius when you spec the edge banding trimmer, and name the band thickness in the same line.
The Feed and Speed That Stop Black Edges
Black edges are the edge banding trimmer's most common failure, and the cause is usually feed and speed, not the bit. Run the machine too fast and the cutter rubs instead of cuts, heating the PVC into that dark line. Run it too slow and the same spot overheats. The spindle speed has a window for each material, and the feed rate has to stay in step with it - faster feed with a sharp bit, slower feed as the edge dulls. Fuzz on veneer means the cutting direction is wrong or the bit is due for replacement. Chipped melamine usually means the edge angle or the rotation is off. When you're buying, ask for the recommended rpm and feed range for your material, and keep the answer with the bit. The next time the edge goes black, you'll know whether it's the tool or the setup.
What the Quote Should Say
The quote for an edge banding trimmer should name five numbers: shank diameter, cutting diameter, R radius, flute count, and the band thickness range it was designed for. Add the rotation direction and the blade material - carbide or PCD - and you have a spec that can't be quietly substituted. Ask about the coating too, because a coated bit lasts measurably longer on abrasive bands. And for volume buyers, ask whether the factory can make a custom trimmer bit for your machine's spindle and your band supplier's profile - that's where a manufacturer earns the order. A factory that can't answer for the edge banding trimmer it sells, with numbers and test results, is a factory that's guessing. Name the specs, and the quote tells you who knows their tooling.
FAQ
How do I stop black edges on PVC? Check feed and speed before anything else, then the bit's rotation and rake angle. A sharp carbide bit at the right rpm usually fixes it.
Hand trimmer or machine bit? If it runs in an edging machine, you need the machine trimmer bit. Handheld trimmers are for bench work.
How do I choose clockwise or counter-clockwise rotation? Match the spindle direction of your machine. Wrong rotation chips the edge and wears the bit unevenly.
What R radius do I need? Match the corner radius to your band thickness and edge profile - name both when you ask for a quote.
Can I order custom trimmer bits? Yes - most factories tool up for your spindle and band profile if you give them the drawings and volumes.
Start with the tool type, then the material, then rotation, radius, and feed - in that order. Our HPL cutter guide covers the PCD versus carbide call for high-pressure laminate, our pre milling cutter guide explains the step that comes before trimming, and our inquiry page is where you send your band material, spindle direction, and R radius for a trimmer bit quote. An edge banding trimmer that fits the machine, the material, and the feed rate is the one that lasts through the batch - now you know which specs to send.