



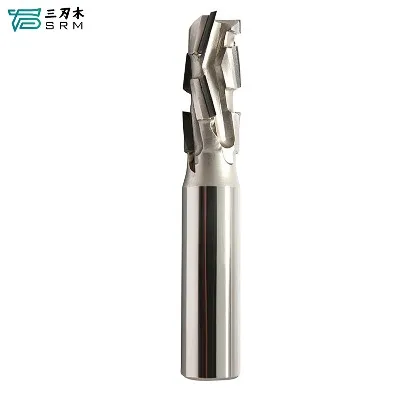

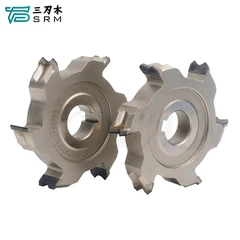
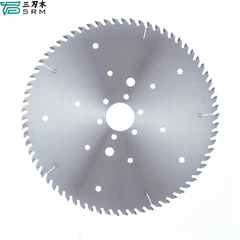




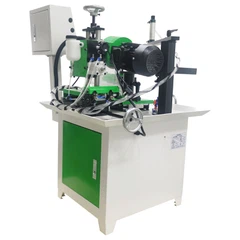

Installing a step router bit in your router might seem like a daunting task, especially if you're new to woodworking or using power tools. However, with the right guidance and a bit of patience, you can safely and effectively install a step router bit to achieve the precise cuts and shapes you desire. As a step router bit supplier, I'm here to walk you through the process step by step.
Understanding the Step Router Bit
Before we dive into the installation process, let's take a moment to understand what a step router bit is and what it's used for. A step router bit is a specialized cutting tool designed to create multiple levels or steps in a workpiece. These bits typically have two or more cutting edges at different diameters, allowing you to make precise cuts at various depths in a single pass. Step router bits are commonly used in woodworking for tasks such as creating rabbets, dadoes, and decorative edges.
Tools and Materials You'll Need
- Step router bit
- Router
- Wrench set
- Safety glasses
- Dust mask
- Clamps (optional)
Step 1: Prepare Your Workspace
Before you begin installing the step router bit, it's important to prepare your workspace. Make sure you have a clean, well-lit area to work in, and remove any clutter or debris that could interfere with the installation process. Additionally, ensure that your router is unplugged to prevent any accidental startup.
Step 2: Select the Right Bit
Choosing the right step router bit for your project is crucial. Consider the material you'll be working with, the desired depth and width of the cuts, and the type of router you're using. As a step router bit supplier, we offer a wide range of options to suit different needs and applications. Whether you're looking for a CNC V Bits for intricate designs or a TCT Chamfering Slotting Bit for precise chamfers, we have the right bit for you.
Step 3: Remove the Existing Bit
If your router already has a bit installed, you'll need to remove it before installing the step router bit. To do this, locate the collet nut on the router. The collet nut is the large nut at the end of the router's spindle that holds the bit in place. Use the appropriate wrench from your wrench set to loosen the collet nut by turning it counterclockwise. Once the collet nut is loose, you should be able to remove the existing bit from the collet.
Step 4: Insert the Step Router Bit
With the existing bit removed, it's time to insert the step router bit into the collet. Carefully align the shank of the step router bit with the collet, making sure it is inserted as far as possible. The shank of the bit should fit snugly into the collet without any wobbling or play.


Step 5: Tighten the Collet Nut
Once the step router bit is inserted into the collet, use the wrench to tighten the collet nut by turning it clockwise. Make sure the collet nut is tightened securely, but be careful not to over-tighten it, as this could damage the bit or the collet. A good rule of thumb is to tighten the collet nut until it is snug, and then give it an additional quarter-turn.
Step 6: Check the Bit Alignment
After tightening the collet nut, it's important to check the alignment of the step router bit. Turn on the router and let it run for a few seconds to ensure that the bit is spinning smoothly and evenly. If you notice any wobbling or vibration, turn off the router immediately and recheck the alignment of the bit. You may need to loosen the collet nut slightly and adjust the position of the bit before tightening it again.
Step 7: Set the Depth of Cut
Once you've installed the step router bit and checked its alignment, you'll need to set the depth of cut for your project. Most routers have a depth adjustment mechanism that allows you to easily adjust the height of the bit. Refer to your router's user manual for specific instructions on how to set the depth of cut. As a general rule, it's a good idea to start with a shallow depth of cut and gradually increase it as needed to achieve the desired results.
Step 8: Secure the Workpiece
Before you start cutting, it's important to secure the workpiece to your workbench or table. This will prevent the workpiece from moving or shifting during the cutting process, which could result in inaccurate cuts or damage to the bit. You can use clamps to secure the workpiece in place, or you can use a router table with a built-in fence or hold-down system.
Step 9: Make Your First Cut
With the step router bit installed, the depth of cut set, and the workpiece secured, you're ready to make your first cut. Turn on the router and let it reach full speed before bringing the bit into contact with the workpiece. Slowly and steadily guide the router along the edge of the workpiece, following the desired cutting path. Use a smooth, even motion to ensure a clean and precise cut.
Step 10: Clean Up and Maintenance
After you've finished making your cuts, it's important to clean up your workspace and perform some basic maintenance on your router and step router bit. Turn off the router and unplug it from the power source. Use a brush or compressed air to remove any dust or debris from the router and the bit. Additionally, inspect the bit for any signs of wear or damage, and replace it if necessary.
Conclusion
Installing a step router bit in your router is a relatively simple process that can be easily mastered with a bit of practice. By following the steps outlined in this guide, you can safely and effectively install a step router bit to achieve the precise cuts and shapes you desire. As a step router bit supplier, we're committed to providing high-quality products and excellent customer service. If you have any questions or need further assistance, please don't hesitate to contact us to discuss your procurement needs. We look forward to helping you with your next woodworking project.
References
- Router user manual
- Woodworking textbooks and guides
- Online woodworking forums and communities


